Sunday, October 2, 2011

Cape Simplicity 2285


I've had this cape thing cut out for almost a year. I decided to use some suiting I had left over to underline this project. It's taking a minute longer to figure out some final finishing but as usual I'm working through it. I just can't seem to do things that actually make my sewing life easier.


I sewed each pair together inside out with about an 1/8th of an inch seam and then turned the pieces right side out and then sewed them together as per the directions.  


I still need to hem and either add buttons or frogs for closures, or something.....


This is an easy pattern. The welt pockets were no problem, and it's a good introduction to some of the components of an actual trench coat. I won't likely sew this pattern again, as I won't need two capes. I may try a caplet from a vintage pattern.... but then again, I will likely move on to self drafting of this style next time instead.

Monday, September 5, 2011

Butterick 5032 plaid madness

Today, I worked through the Butterick Retro Shift and my plaid. It said easy, and it was.

I took a little extra time trying to match the plaids, and as it's my first ever plaid attempt, it's ok. The bodice and the skirt attachment isn't the best, on the horizontal line, but I can try again.

The colours on the photos aren't exactly right, but hey, not such a big deal in the grand scheme.

I tried it on, and wasn't so taken with it. Very boxy and rather blah. Sackish, really. Not sure what I was expecting, it's not an exciting fabric or pattern, but I still like it, and the flannel is kind of cozy for fall. I wasn't getting my warm and fuzzy feeling though, sooooo......

I started pinning and tucking and enhancing the pleats and darts.

Side view, pinned and tucked
 It's definitely turned into a Pin and Tuck Major, project. I cut a 14, which is my size, aside from my bust. What I'm having to take out seems to be the equivalent to 3 or 4 sizes. The front pleats and darts are going to be increased by an inch, each, widthways. I've pinned it to give a front panel effect, which seems to be ok. I'm trying not to mess with the good line-ups I've got going....


See the pinned out amount in the back? It's huge! More than 6 inches total. I will likely have to undo the entire back to adjust for the zipper. So a total of almost 10" out.... That's a lot. I'm not that small!


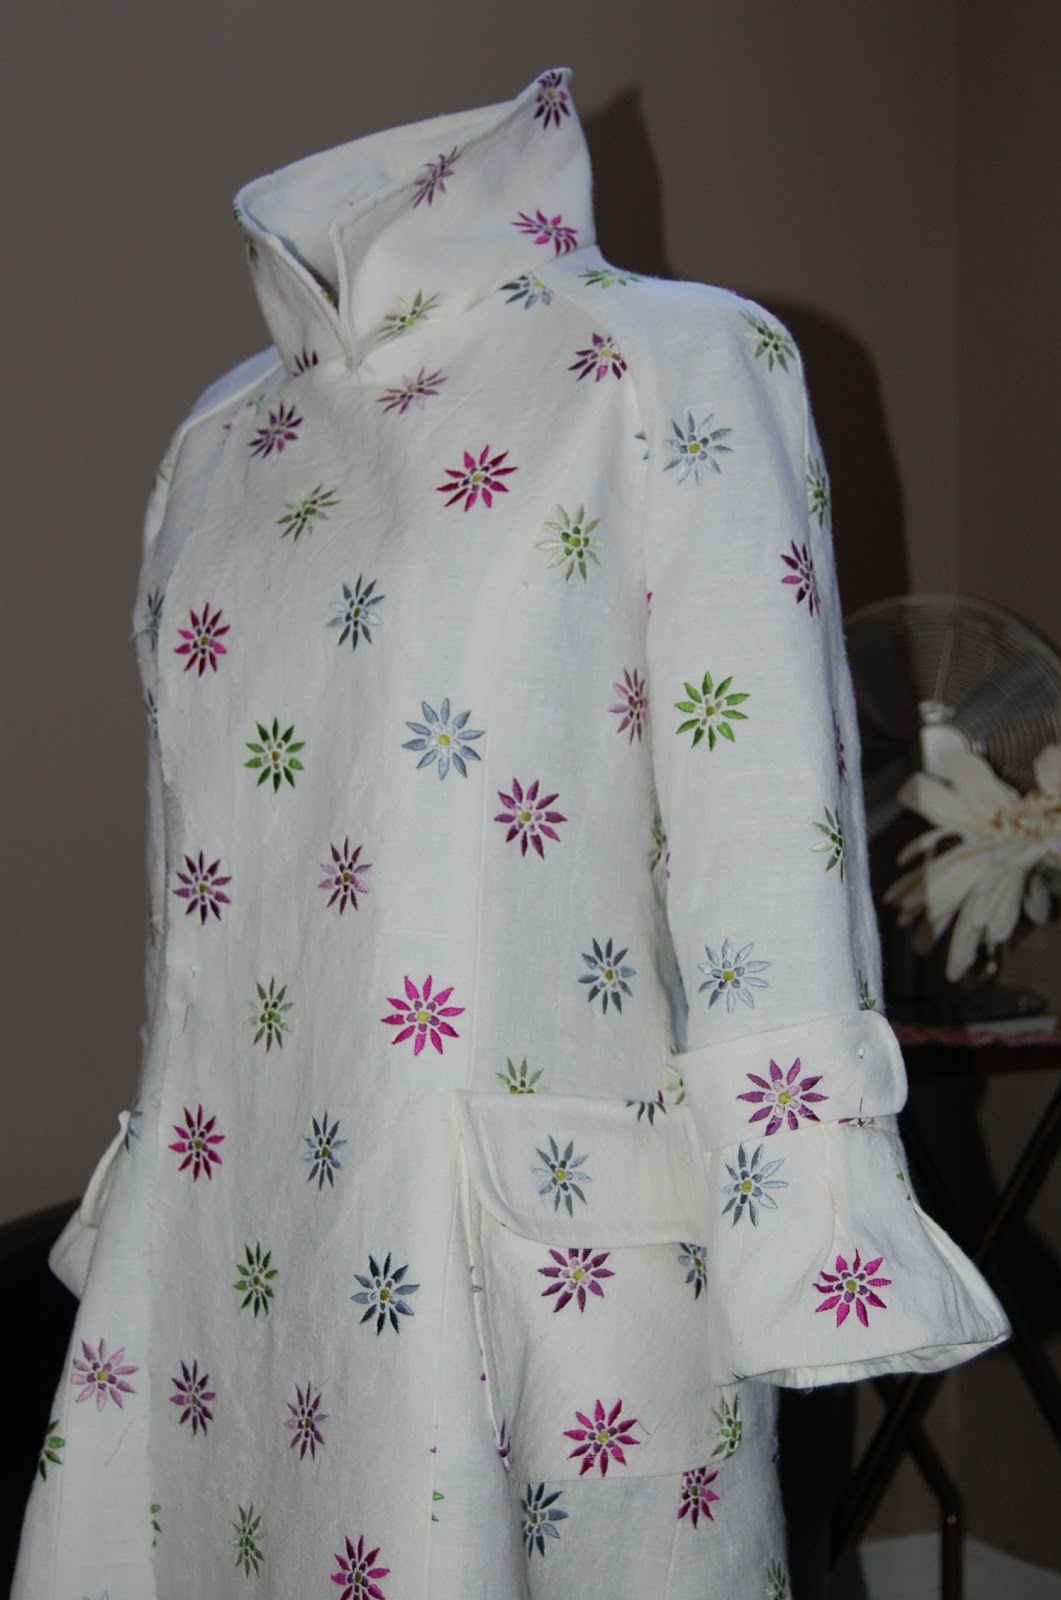
The inside is finished with French seams and the facing was finished with a bias tape. I like a neat inside...and I'm not quite done!


Overall, I like the effect better with the tightening to the figure adjustments.

The square neck is a bit high, but it just makes this a very modest dress. Not a bad thing. If it wasn't so high, I'd go ahead with my plan of adding the pleated trim around it. But it will just be too much. 

(PS this is a day later.... I tried the ruffle around the collar, it looks good; balances out the dress somehow.... it's going on! :) ) (See below)

With my new fire sale Navy trench ($40 from $200. Can't make it for that!) , and black boots and hat, I think this just might work as is. It's closer to what I had thought, but I'm thinking a plaid on the bias is maybe what I really wanted. Can you say "Twinkle Sews Annie Hall bias skirt"?


So the boys go back to school tomorrow....ahhh.... regular scheduled life... although this summer was pretty good. I've got too much sewing to do to keep messing around with this lacka daze summer fun!

I did manage to whip up a new pencil case this evening for #2 boy. I didn't manage to get a photo of it as he snapped it up, filled it and stuffed it in his knapsack before I could even say my own name. I'll take that as a satisfied son. Must have been funky enough for this new grade 7 kid to not be embarassed! Coolio.

This week, I will finish the zippers and hems and tucks and start #1 boy's Negroni. He was sized up this evening too.... now, muslin or not to muslin, that is the question.....

(PPS Question answered, no muslin.... shirt cut out and ready for action)


Update: Here's the ruffled trim. I used the selvege edge as it had a little frayed trim I liked. I'm working on getting my head around how to deal with the darts and taking things in without taking absolutely everything apart. I will fight the fight for a little longer, and then take everything apart like I know I will have to....I will live in denial for a little longer.


Friday, June 24, 2011

Pintuck Bag Mini Project


I found this sweet little book on my front porch two days ago. It's made by the same woman involved with the Alabama Stitch project books. It's clearly written, with room for your own interpretations. It definitely has a Japanese touch to some of the designs, but mostly for the pretty simplicity. You can make most of the projects with items in your stash and scraps. So I tried the Pintuck Bag. I figured I could make a couple of them as gifts.... let's see if they pass muster.


So here's what I found in my stash. Some contrast Sulky thread, my pintuck foot and some almost go together cottons. Since this is an experiment, I didn't worry to much about making it perfectly perfect.


The pintucking foot at work. And it worked well. I'm happy, as I have dreams of making a fully pintucked shirt that I saw in a Katherine Hepburn flooring ad.... I think I'll be able to manage it....


The pattern is coming together. I misread the pleats as being randomly stuck down. Turns out I should have left them in one direction or another.... but I don't mind, you'll see, it doesn't really matter. I tucked in both directions, following quilting rules so that the fabric didn't warp.

And now the almost finished bag. I backstitched the seam allowances together in the bag corners so that they stay put. I will also put a pocket or two inside before I seal it all up. I'm just trying to figure out the handles... It's going to take a minute.


Front and back with a hint at the top showing inside lining.


I also fussed most of the day with my V1240 dress. I had sewed a few things backwards and inside out, and spent most of the fussing unpicking..... but it's an hour from being finished.... tomorrow.

Tuesday, June 21, 2011

Vogue 1240

V1240

Here's the project. While I store some energy to unpick the collar of the Vogue 7979 and get ready for finishing. No the seams at the collar didn't line up at one spot. Rats.

Anyway, this pattern says it's easy, and it is. I had to turn off my logical brain, that's ok, it's small, and just follow the directions. The pleats are a little bit fussy, but I think this is mostly because this fabric is a bit stretchy and very slippy so it needed to be manhandled a little bit. It spat out pins like crazy, so patience was the key. No big deal. The pleats look a bit rough right now, because they are basted. I think I'll need to play with their lay before I put the collar on.

The collar consists of an interfaced two piece foundation and then two other pieces that fold and wrap. Internal finishing consists of French seams and rolled hems and felled seams.

This fabric was on sale, buy one get two free, so at $12 total, plus zip and snaps at 50% off, I'd say this is a $15 dress. Hopefully it won't look like a $15 dress when I'm done. A true georgette might be a better choice for this little number, but this satiny stuff is ok.


Today is a proper work day, so tomorrow for finishing it is. Then I'll need to find something to do to actually wear it, aside from gardening. Sometimes I like to freak out the neighbours. It's entertaining for me. :)


Update:

I'm almost finished this dress. I've decided to hand sew a rolled hem, and that is taking a little while. This fabric frays easily and doesn't like to be bent..... So two more nights at least to get the hem done, and all the last bits of finishing. Then I'll see what I can do about some proper photos.

Monday, March 28, 2011

Simplicity 2508

ahhhh.... I finally feel like I've gotten somewhere.

So here is the jacket I thought I would do for the RTW Tailoring Sew-along . Looks like it would have been waaaayyyy too easy! OK, maybe not, as I am not exactly done yet, and this coat will still require 20 different buttons.

I have to say that I am quite inspired by what I've found other sewistas to be accomplishing these days. There are some ready to sew patterns I have ready to sew, and I will stalk them a little bit in hopes of seeing some of their finished projects. It keeps me motivated to work through my stack of cuttings and become more accomplished. I will definitely be doing a Hepburn outfit of my own, and a Chanel jacket or dress or both. I've would love to bring my stash down to a dull roar before I buy any more fabric. I think I have too much as I can't exactly walk into my storage room. It is a the level of ridiculous. Although I could definitely live with myself being this way. Easy.

The fabric I found stashed for this jacket, is an Indian embroidered white linen. It's crisp now, but softens in a nice way. The lining isn't finished yet, and unfortunately tomorrow is my work for actual money day, so Wednesday will be the finish date. Hopefully.

The pad stitching, cream on white, is very difficult to see.


Et voila, ici le manteau!


 I didn't have enough of the same interlining for the front facings, so I used fusible. It doesn't have the same body, although the difference is slight. I think I prefer the sewn in natural interfacing to go with this linen.


I'm sure it seems that I fit things in a goofy way, that is apparent on Polly Ester, but I have bigger shoulders and lats, a waist and then a poking out bum, so the fit of this jacket on me, is pretty good, after I graded the pattern from a size 12 (with a skinny seam allowance for my biceps and arm hole, down to a 4 at the waist and then waaaay back out to a 12 again for my bum. An athletic body is not so easy to fit, and I am trying to be a bit girlie instead of just tomboy these days.


Hopefully the ruffles with lose their stiffness and relax, they look like elephant feet right now!


This pattern was relatively easy to put together. I recommend the muslin to start. The instructions are clear but all put together, which means, you have to really pay attention to the options that you've picked so that you follow ALL of the right instructions. I had to go back and forth and back and forth more than usual to find my missing steps (including the missing pattern pieces too) a little more than usual.

I like the raglan sleeve, and for me with my shoulders and easier fit.

I will be making this pattern again, the trenchcoat version, and likely a short jacket as well... you can NEVER have too many jackets. I am hoping to start making my own hats to go with these jackets/coats as well. I love hats.